Friday, October 15, 2010

A pencil portrait of KIM HYUN JOONG 3

Greetings.

I have just been bitten by the 'Photo Realism' bug. If I don't do something, I WILL DIE....

Was it Einstein who said that "insanity is doing the same thing over and over again expecting to see different result" or something like that?

So I have to change for the better, to avoid going nuts!

Some things have to remain the same, however...


...like the tools I use, pencils 2B to 8B, Kneadable eraser and tortilliions...


...and the A3 art card that gave me some problem with my Megan Fox drawing previously, but I thought I should train with it to attain that 'kung fu' to over come any problem, in case I'm accused of being a 'bad workman who blames his tools'.

Besides, the cards came in a pack of 15 pieces and cost me $9...T___T ... some good trees must have died for these, I can't do them such injustice. I'm going to finish them all... nom, nom, nom...


...introducing my tissue box... I'm going to use tissues for blending this time.

Tissues are super blenders and they create that photo smooth tone that I have been craving for lately. One thing is, they take away instead of add on to the tone like tortillions and so I have to shade, blend and re-shade several times before I get the right tone.


...and I'm using some black markers for the background. Oil based markers dry instantly without damaging the surface of the paper. Water based markers dry slowly and wet the paper, if you shade over it before it's completely dried the paper will break.

Be careful with choices.


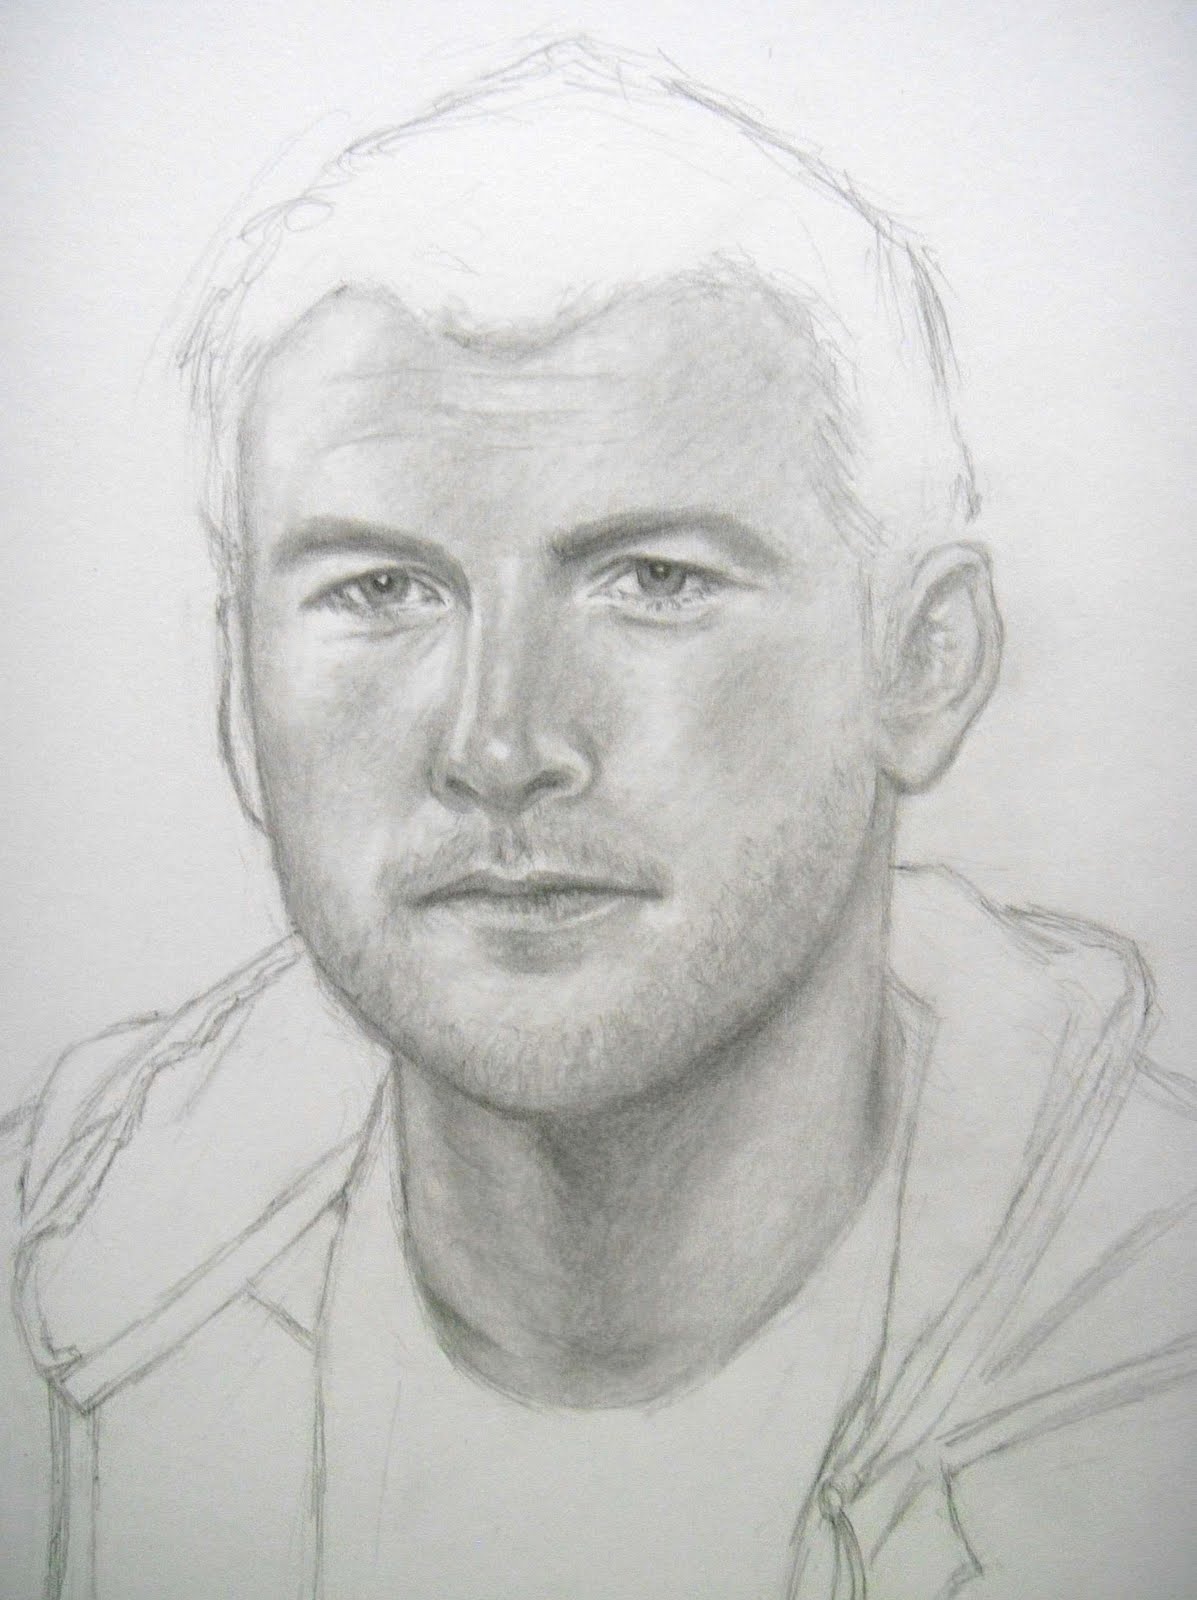
... and here's the beginning of my next adventure, a rough sketch to position the figure on paper.


... more guidelines to do the proportions...


Cleaning up the proportions for the eyes, nose, mouth and chin.


... and then the hair proportion...


... finally, the proportion of the neck and clothes. It took me about 45 minutes to complete the proportion this time.


I'm still using the tortillions for shading, but only over smaller or more specific areas, like the eyes, nose and mouth.


... as for the shading of bigger areas like the face, I used tissues to do the job.


... see the smooth blended tone created by tissue shading... I'm very thrilled... >w<


... I used some tissues on the lips too, together with tortillions.


... time for the hair, done with tissues too!


I started the touch up with the darker tone pencils like 4B, 6B and 8B a little earlier this time because the background is pitch black and I left it for the last.


...touching up the lips...


... and darkening the hair...


...and now, the background. I shade over the area with a 8B pencil first.


... then I cover the 8B pencil background with black markers. After that, I shade over the marker ink with 8B pencil again to make sure that it is completely covered in black. I never used so much 8B in my life...T___T


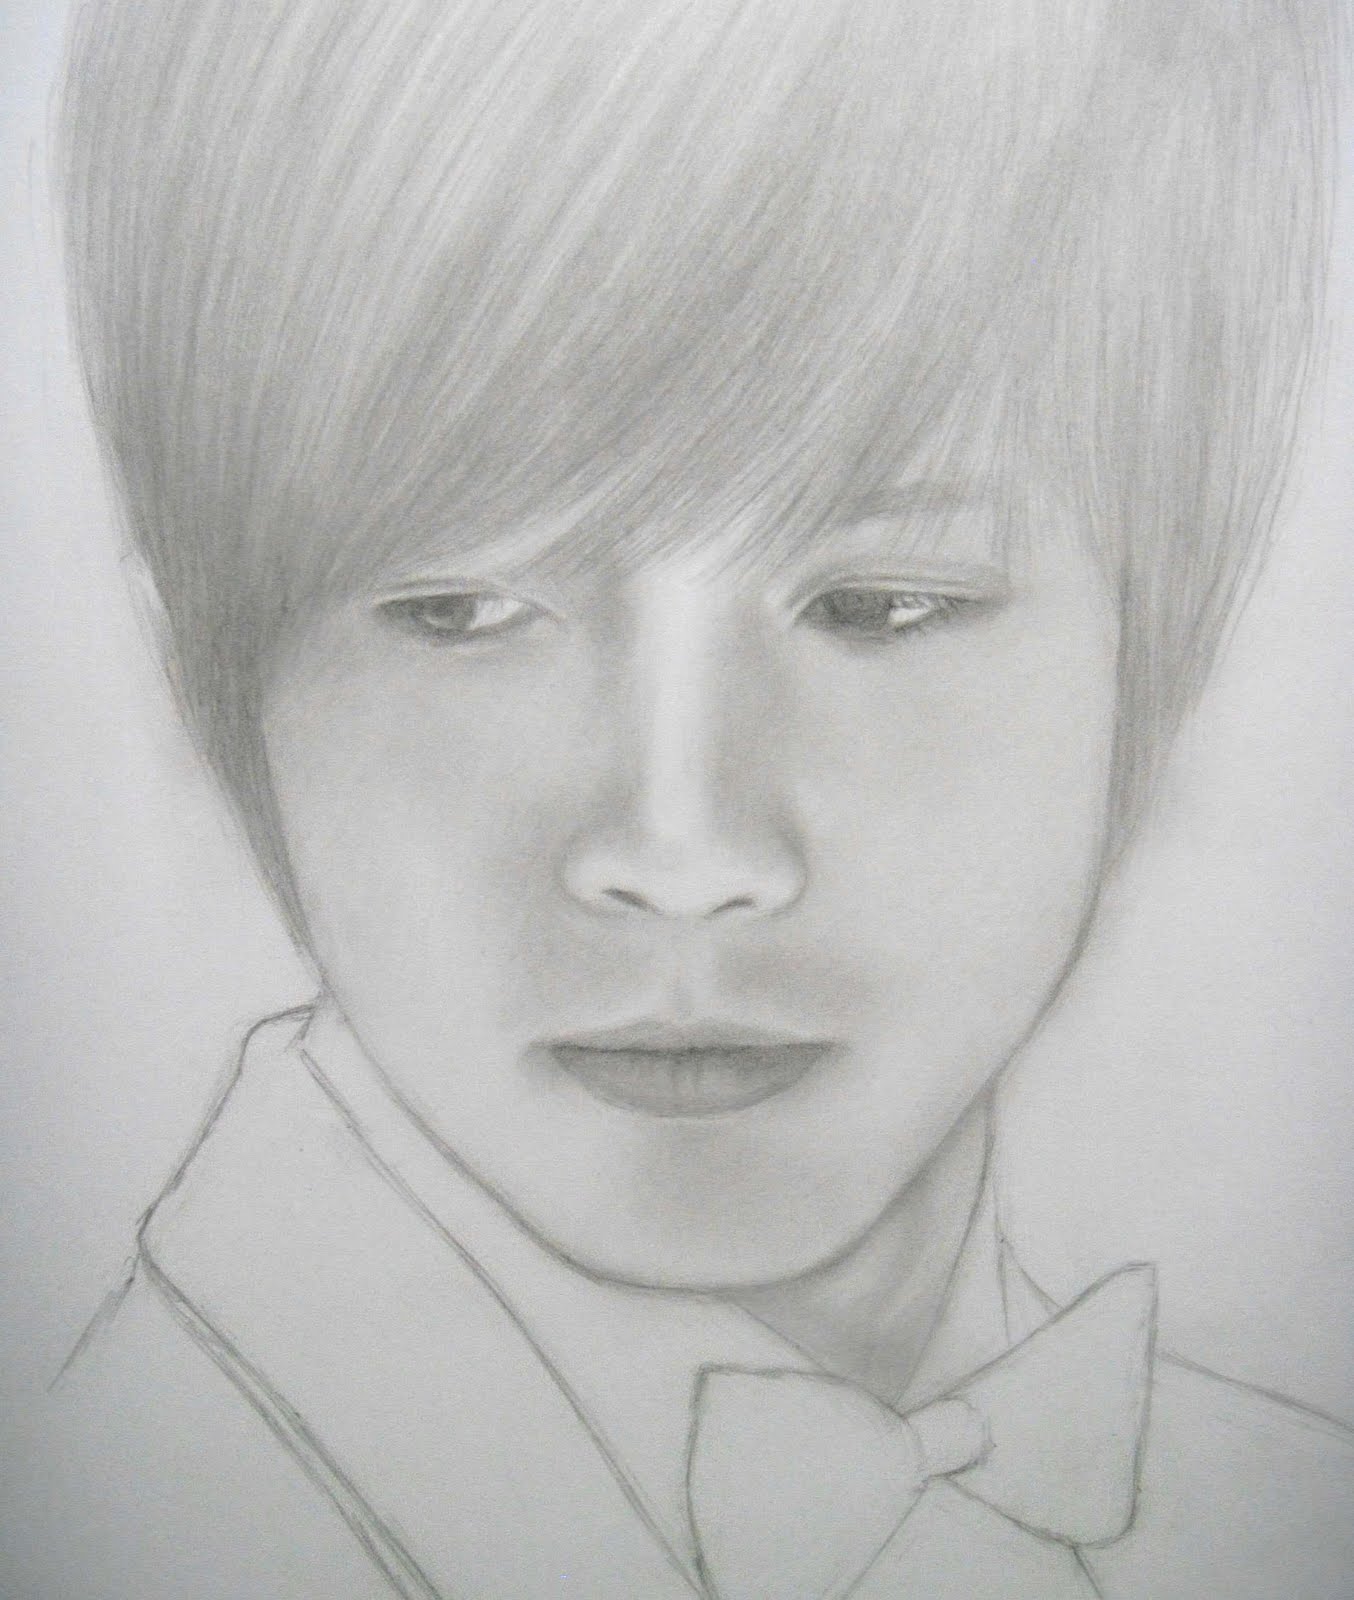
...and here we have it... my first attempt at photo realism. Not very successful, but that's why we need this thingy called 'PRACTICE' to make perfect, right?

I'll work on it...


Well, the whole adventure took me about 10 hours. Most of the time was spent on shading and re-shading due to my lack of experience. I think I'm beginning to get the hang of using smooth paper with tissue.

It's fun to explore, as long as it doesn't end up in epic failures that crush my life and put out all lights.

13 more smooth art cards to go!

Hope you like...

Friday, October 8, 2010

A pencil portrait of MEGAN FOX


Greetings! This time, besides using the usual stuffs like pencils, kneadable eraser and tortillions, I'm exploring new paper texture...


So I used a smooth surfaced art card for the drawing. But since the card was not designed for pencil drawings, I soon ran into lots of troubles... like the surface would give up after several times of shading and turned out uneven. I had a hard time cleaning up...T__T


But here's the beginning anyway... a rough sketch to position the figure.


After that, a more detail sketch to get the eyes, nose and mouth... it's still not in proportion yet.


Here comes the more careful measurement for proportion according to reference...


Completing with hair and neck proportion, taking around 1 hour 3 minutes in all... kinda glad she's not wearing much clothes and it's below my sketch line ...heheheh... OK...that was crude and not artistic... v___v


Here comes the shading part that I like... blending with the tortillion.


Here's the shading for the upper part of the face in 2B pencil.


,,,and then the shading for the lower part of the face...


Time for the hair-do again...


Nearly done. Here it is in 2B pencil shading.


I used 4B, 6B and 8B for the final touch up this time...


So here's the finished work... somehow it didn't turn out as close to the reference as I hoped... T___T


This one took me about 7 hours and 50 minutes to complete. I'm still not up to speed...

Despite the trauma of using the wrong paper, the smoothness was great for blending, it also looks whiter than the usual paper I used.

I'll go shopping for extra smooth paper designed for pencil portraits as soon as I find time. I want to create some photo realistic drawings for a change.

But of course, I'll bear in mind that no amount of good materials or extra time is going to make up for my lack of skill. To do a good job, I need to be good.

Again, this is for my friend afordite


Hope you like!

Friday, October 1, 2010

A pencil portrait of SAM WORTHINGTON


Hi again! And here are the usual stuffs I used for this drawing.

Maybe I should explore new materials...


At the beginning, a rough sketch to position the figure on paper...


Then I start to get detail on the eyes, nose and mouth...


Lots of adjustment to proportion done here, complete with the facial outline.


The clothes is as important as the face, I find... anyway, to do a good job every single thing just have to be GOOD...as good as you can afford...

It took me about 53 minutes to do the proportion for this drawing.


Then the blending with the tortillion starts.


Here's a step by step show to shading. First, the eyes, nose and top portion of the face.


Then the shading of the lower face and neck. The figure has lots of stubble... had to draw short tiny strokes all over the lower face and use kneadable eraser to draw some white fine lines over some of them, particularly at the darker parts where the face meets the neck.


Time for hair-do... sad to say the picture for reference was a bit dark and the lines of the hair were not very clear...


Hope my guessing works anyway. The hair has to be darken.


Time for the clothes... if it's well done it'll make the face look better. I hope...


Shading the other side of the clothes. I'm right handed so I work from left to right, to avoid fatal smudging.


I want to do a good background... I used tortillions for the shading hoping that it'll look better. I didn't expect that it took me longer than an hour, and getting it to look smooth and even was tougher than doing the face. I think I understand why some pros say that the background is the hardest thing to do...now...


Anyway, the picture gets finished. Here's the drawing all in 2B pencil shading.


Time for a 4B and 6B darker pencil make-over...


... and another practice piece done...


It took me about 9 hours to finish this time. I still need to improve on my working pace.

This drawing is a special request from my dear friend afordite
and dedicated to her.

Hope you like it!