Hello again! Welcome to my drawing blog.
Today I shall post the second drawing of 10 year old Wei Ting and her cute doggy QQ.
As I seldom practice painting, I am still kinda uncomfortable with the brushes and the outcome. I shall try to overcome this problem and phobia by spending more quality time burying myself under the tons of painting materials I bought but never used. I mean... use them. Seriously, as I don't have that much time to waste.
Here's another attempt at Acrylic painting, with all my heart, to make some significant improvement so it'd be worth my time. To begin, the ingredients:
 |
A 45 x 60cm canvas.
I used a bigger size canvas for this painting than my usual practice pieces. |
 |
| The easel that I bought for $17 at the stationery shop. |
 |
| A set of brushes that didn't cost too much. I'm still learning, not a pro. |
 |
| A palette and a bucket with multiple compartments for water to dip the brushes in. |
 |
I have several brands of acrylic paints.
This one is not expensive and good for practice works. |
 |
I also bought some slightly more expensive one in big bottles, especially for colors that I may use in bigger quantity than others, like white. Here I have just gotten a bottle of Flesh Pink for skin color, and I'm very happy with it as I don't have to mix skin colors myself anymore. But mixing different brands of acrylic together, though they did not explode, had different effects.
This brand for example, turns matt when dried while the others were glossy. |
 |
| The other brand that I used. Burnt umber (1st from left) was most used for the shadings. |
 |
| I also got some sponge brushes. These were used for painting the varnish layer at the end of the painting to protect the surface of the painting. |
 |
| A plastic dropper to suck up water or other mediums to add to the paint. They are very inexpensive and come in a pack of 10 pieces for a little over a dollar. |
 |
| To begin, I needed to prepare the canvas for use. The surface was sanded with a fine grained sand paper to smooth out any roughness. |
 |
| Next, I added some acrylic painting medium to white gesso. |
 |
I painted the gesso on to the sanded surface of the canvas.
Did several layers and left to dry. |
 |
| When the gesso was dried, I sanded the surface again, gently this time, to smooth it out further. The canvas was ready to be used now. |
 |
| After adding in the pencil outlines, I blended the lines with a brush to create some shading effects, to get some idea of the shadings first, and also to thin out the pencil lead on the canvas so it would not smudge too badly when paint was applied to the canvas. |
 |
I also used kneadable eraser.
This was to remove some pencil lead on the canvas to prevent smudging.
The black carbon does show up beneath the paints if not reduced to a thin layer. |
 |
| Here's the overall completed proportion layer. |
 |
| I was lacking some confidence since I haven't painted for ages. I used some green to paint the shadings first to warm up. It also helped with the skin tone. |
 |
| That was for the starting. Didn't look good here. |
 |
| After gaining some confidence, the medium darker skin tone was added. It was a mixture of flesh pink and burnt umber. |
 |
| After applying some lighter skin tone, I worked on getting the features out slowly, from light to dark. |
 |
| The development of the face from left to right. |
 |
| Working on the other eye and also adding some pink color to the cheeks and lips. |
 |
| I spent a lot more time painting the lips carefully this time. |
 |
| Time to work on the hair. I started with a thin layer of burnt umber. |
 |
Before I was done with the hair, I worked on the background.
Kept it simple with a layer of pink. |
 |
| I then returned to the hair, starting with more burnt umber in darker layers, then a highlight in grey, which was covered by black and blended till it looked natural like soft lighting on the glossy black hair. |
 |
| With the hair done, I began to work on the chair portion. |
 |
| Working on QQ at last, shading done with burnt umber, yellow ochre and black. |
 |
| The doggy was done... |
 |
| Last thing to paint was the red cushion under QQ. |
 |
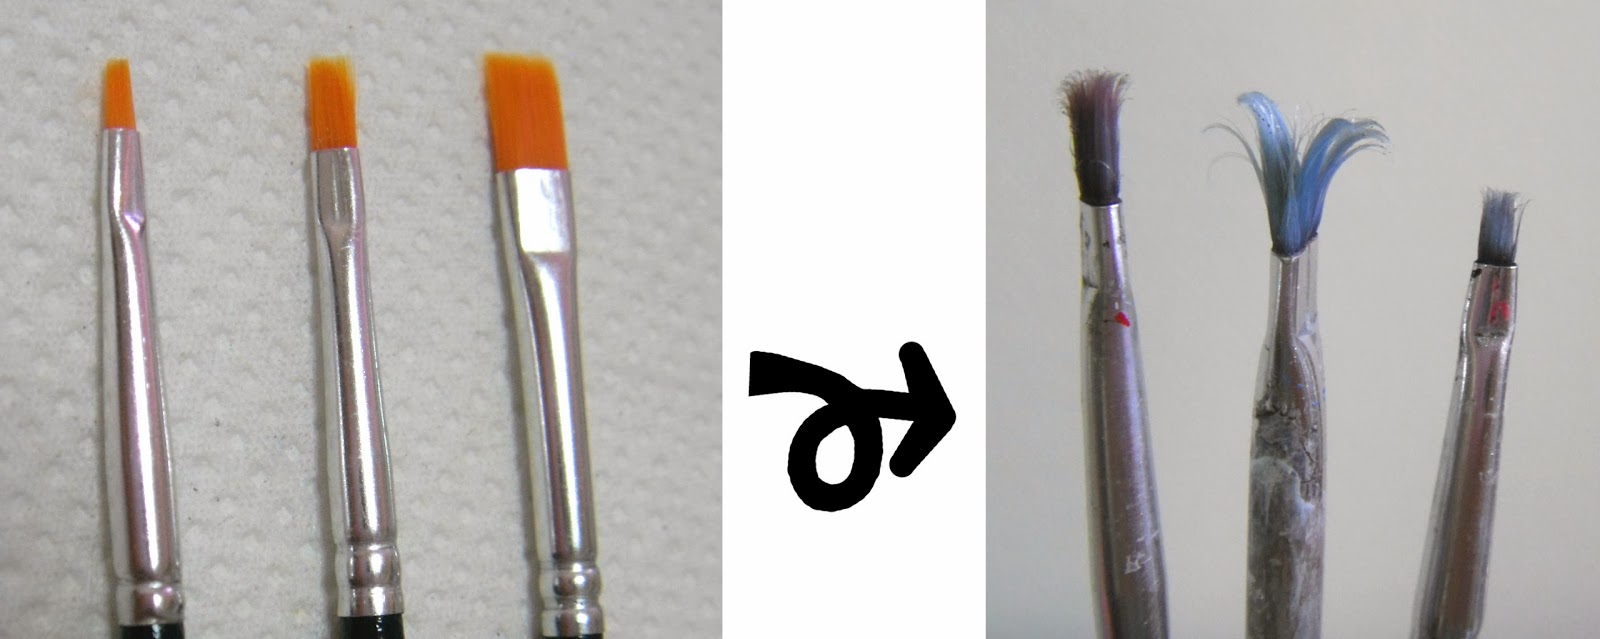
| I'm not good with brushes at all. Before one painting was done, the brushes were finished. |
 |
| Last thing to do (and also the happiest) was to apply the varnish when the painting was dried. Two coats were applied. After first coating it was left to dry completely before the second coating was added. I used gloss varnish for this painting. |
.jpg) |
| And here's the finished work. Sorry for the bad scanning. |
The painting took about 48 hours to complete, spread across several months.
Acrylic paints dry kinda fast, and I was not very used to it because I am a slow worker. I found myself practically dry brushing the paint at several points of the painting just to get the effect I was looking for. I would very much prefer to blend instead. But I have a lot to learn, still, and may I overcome this in time.
I would love to learn how to do oil painting some day, if I live long enough to learn so slowly...
Thanks for looking!


.jpg)
You are so talented! I am inspired to try painting now. Your painting is so realistic it looks like a photograph.
ReplyDelete